Getting Started in Coding with Python for Beginners (Part 1)
There are numerous ways to get your Python ready to go. However, my favorite one is using Jupyter Notebook as the Integrated Development Environment (IDE). What is IDE, you asked? Just think of it as your workshop where you write your code and showcase what can your code do. You can write your code without IDE, but it will be more difficult. IDEs provide you with all the tools you need, check your syntax, and analyze what goes wrong on your code.
Jupyter Notebook is not the only IDE. There are many other IDEs out there, such as VS Code, Pycharm, Programiz, Idle, etc. However, as a Jupyter user, I will guide you on how to use Jupyter Notebook to write your Python code. In my opinion, Jupyter is powerful enough for my coding needs and it is faster than any other IDEs.
I divided this guidance into three parts: install Anaconda Python in your machine, working with Jupyter Notebook, and finally showing some basic syntaxes in Python. Okay, let’s get started!
Install Anaconda Python
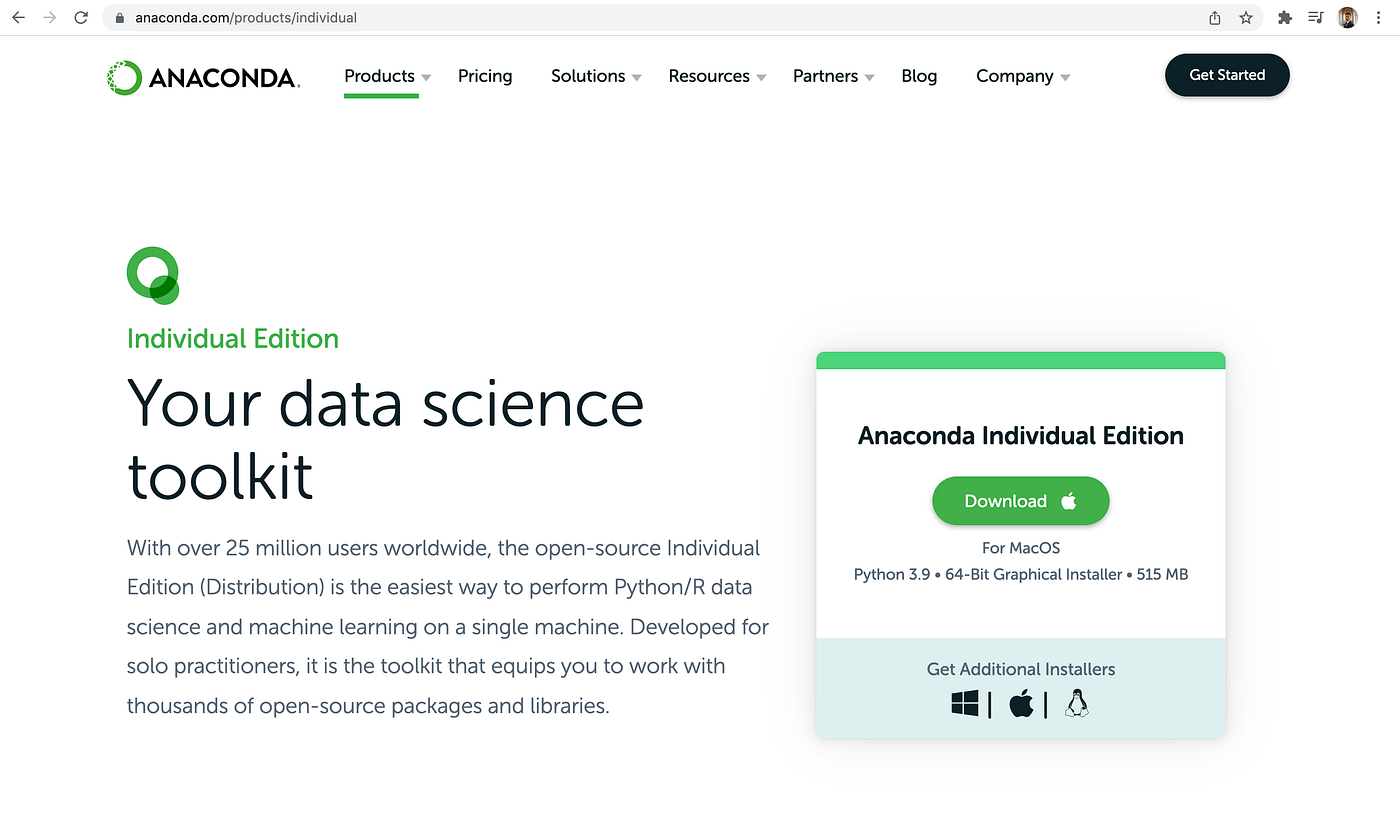
To install, open your web browser and go to anaconda.com. Click “Get Started” on the top right.

Choose “Download Anaconda installers”.

Click “Download”, or choose according to your operating system under “Get Additional Installers”, and wait until the download is done.
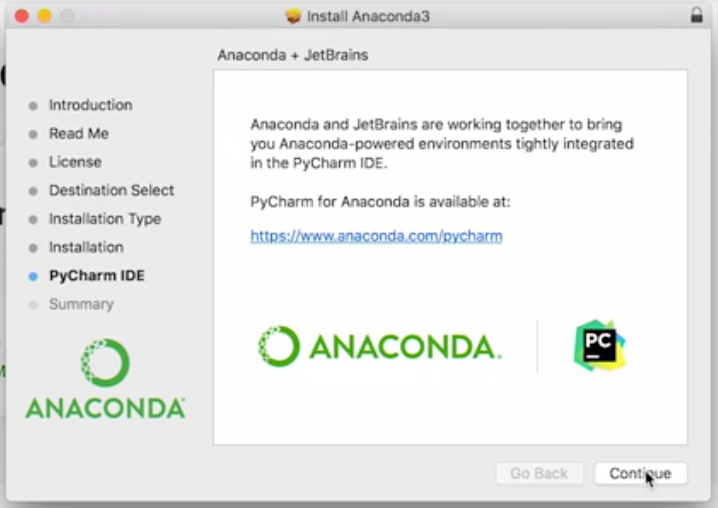
Once it is complete, you should just need to click the installer, and proceed through a standard installation process.
At some point in the installation, it will ask whether you want to install Pycharm. However, we should skip this step as we have agreed to use Jupyter Notebook as our IDE.
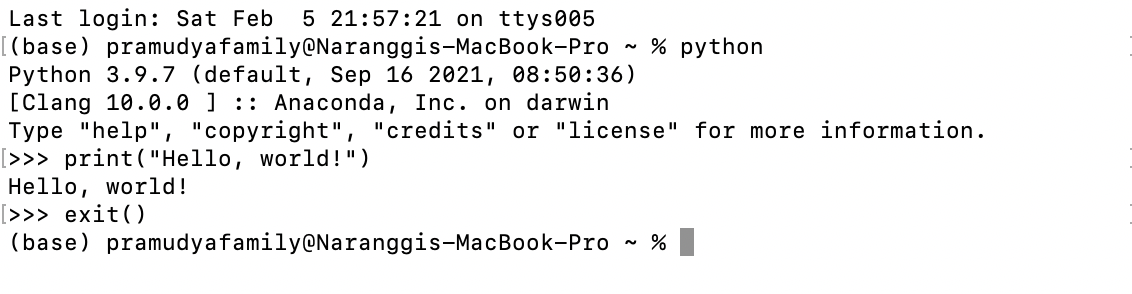
After the installation is complete, you now can write some Python codes! To do so, open your terminal (on OS X) or command (on Windows), and type “python”.
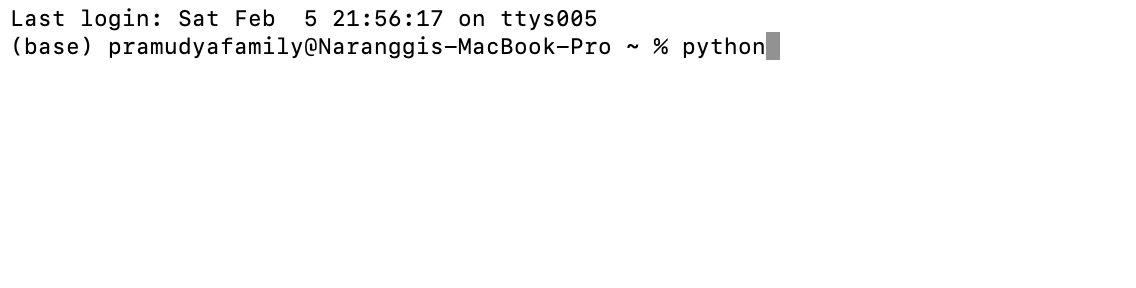
Press return or enter, then you should receive what version of python that you have in your machine. As you can see below, mine is 3.9.7. Yours might be newer than mine.

Now, let’s try do the hello world tradition by typing: print(“Hello, world”).
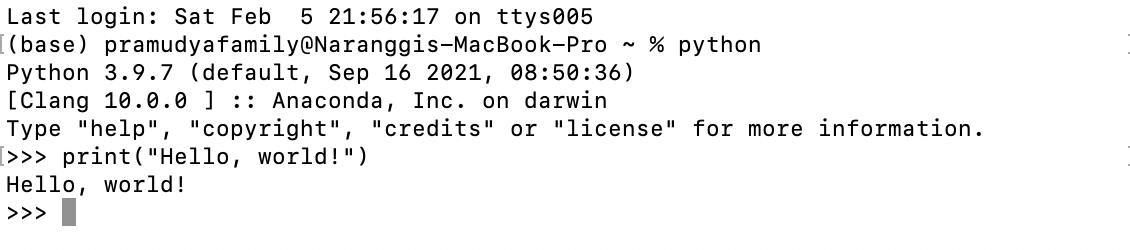
There you go! You are now officially writing your first Python code!
To exit from the Anaconda, type exit().
Okay, that is it for this article. Next, I will show you how to work on Jupyter Notebook. See you in the next article and I hope you enjoyed my article. Best of luck!


Comments
Post a Comment